利用Hugging Face 图片识别模型处理图片数据
1. 适用场景:
本文创建 Remote Function 的方式是基于阿里云容器镜像创建,这个场景适用于:
- 如果图像解析程序的 Python 依赖包大于 500M,就需要利用本文介绍的方式,即基于容器镜像服务方式创建(如果函数的程序文件包小于 500M,可直接传到对象存储走自动化创建)。
- 无论程序文件大小,需要使用云上函数计算服务的 GPU 资源时,需要基于容器镜像服务方式创建
2.过程演示:
2.1 准备
- 场景:利用 Hugging Face 的 image to text 离线模型解析图片内容
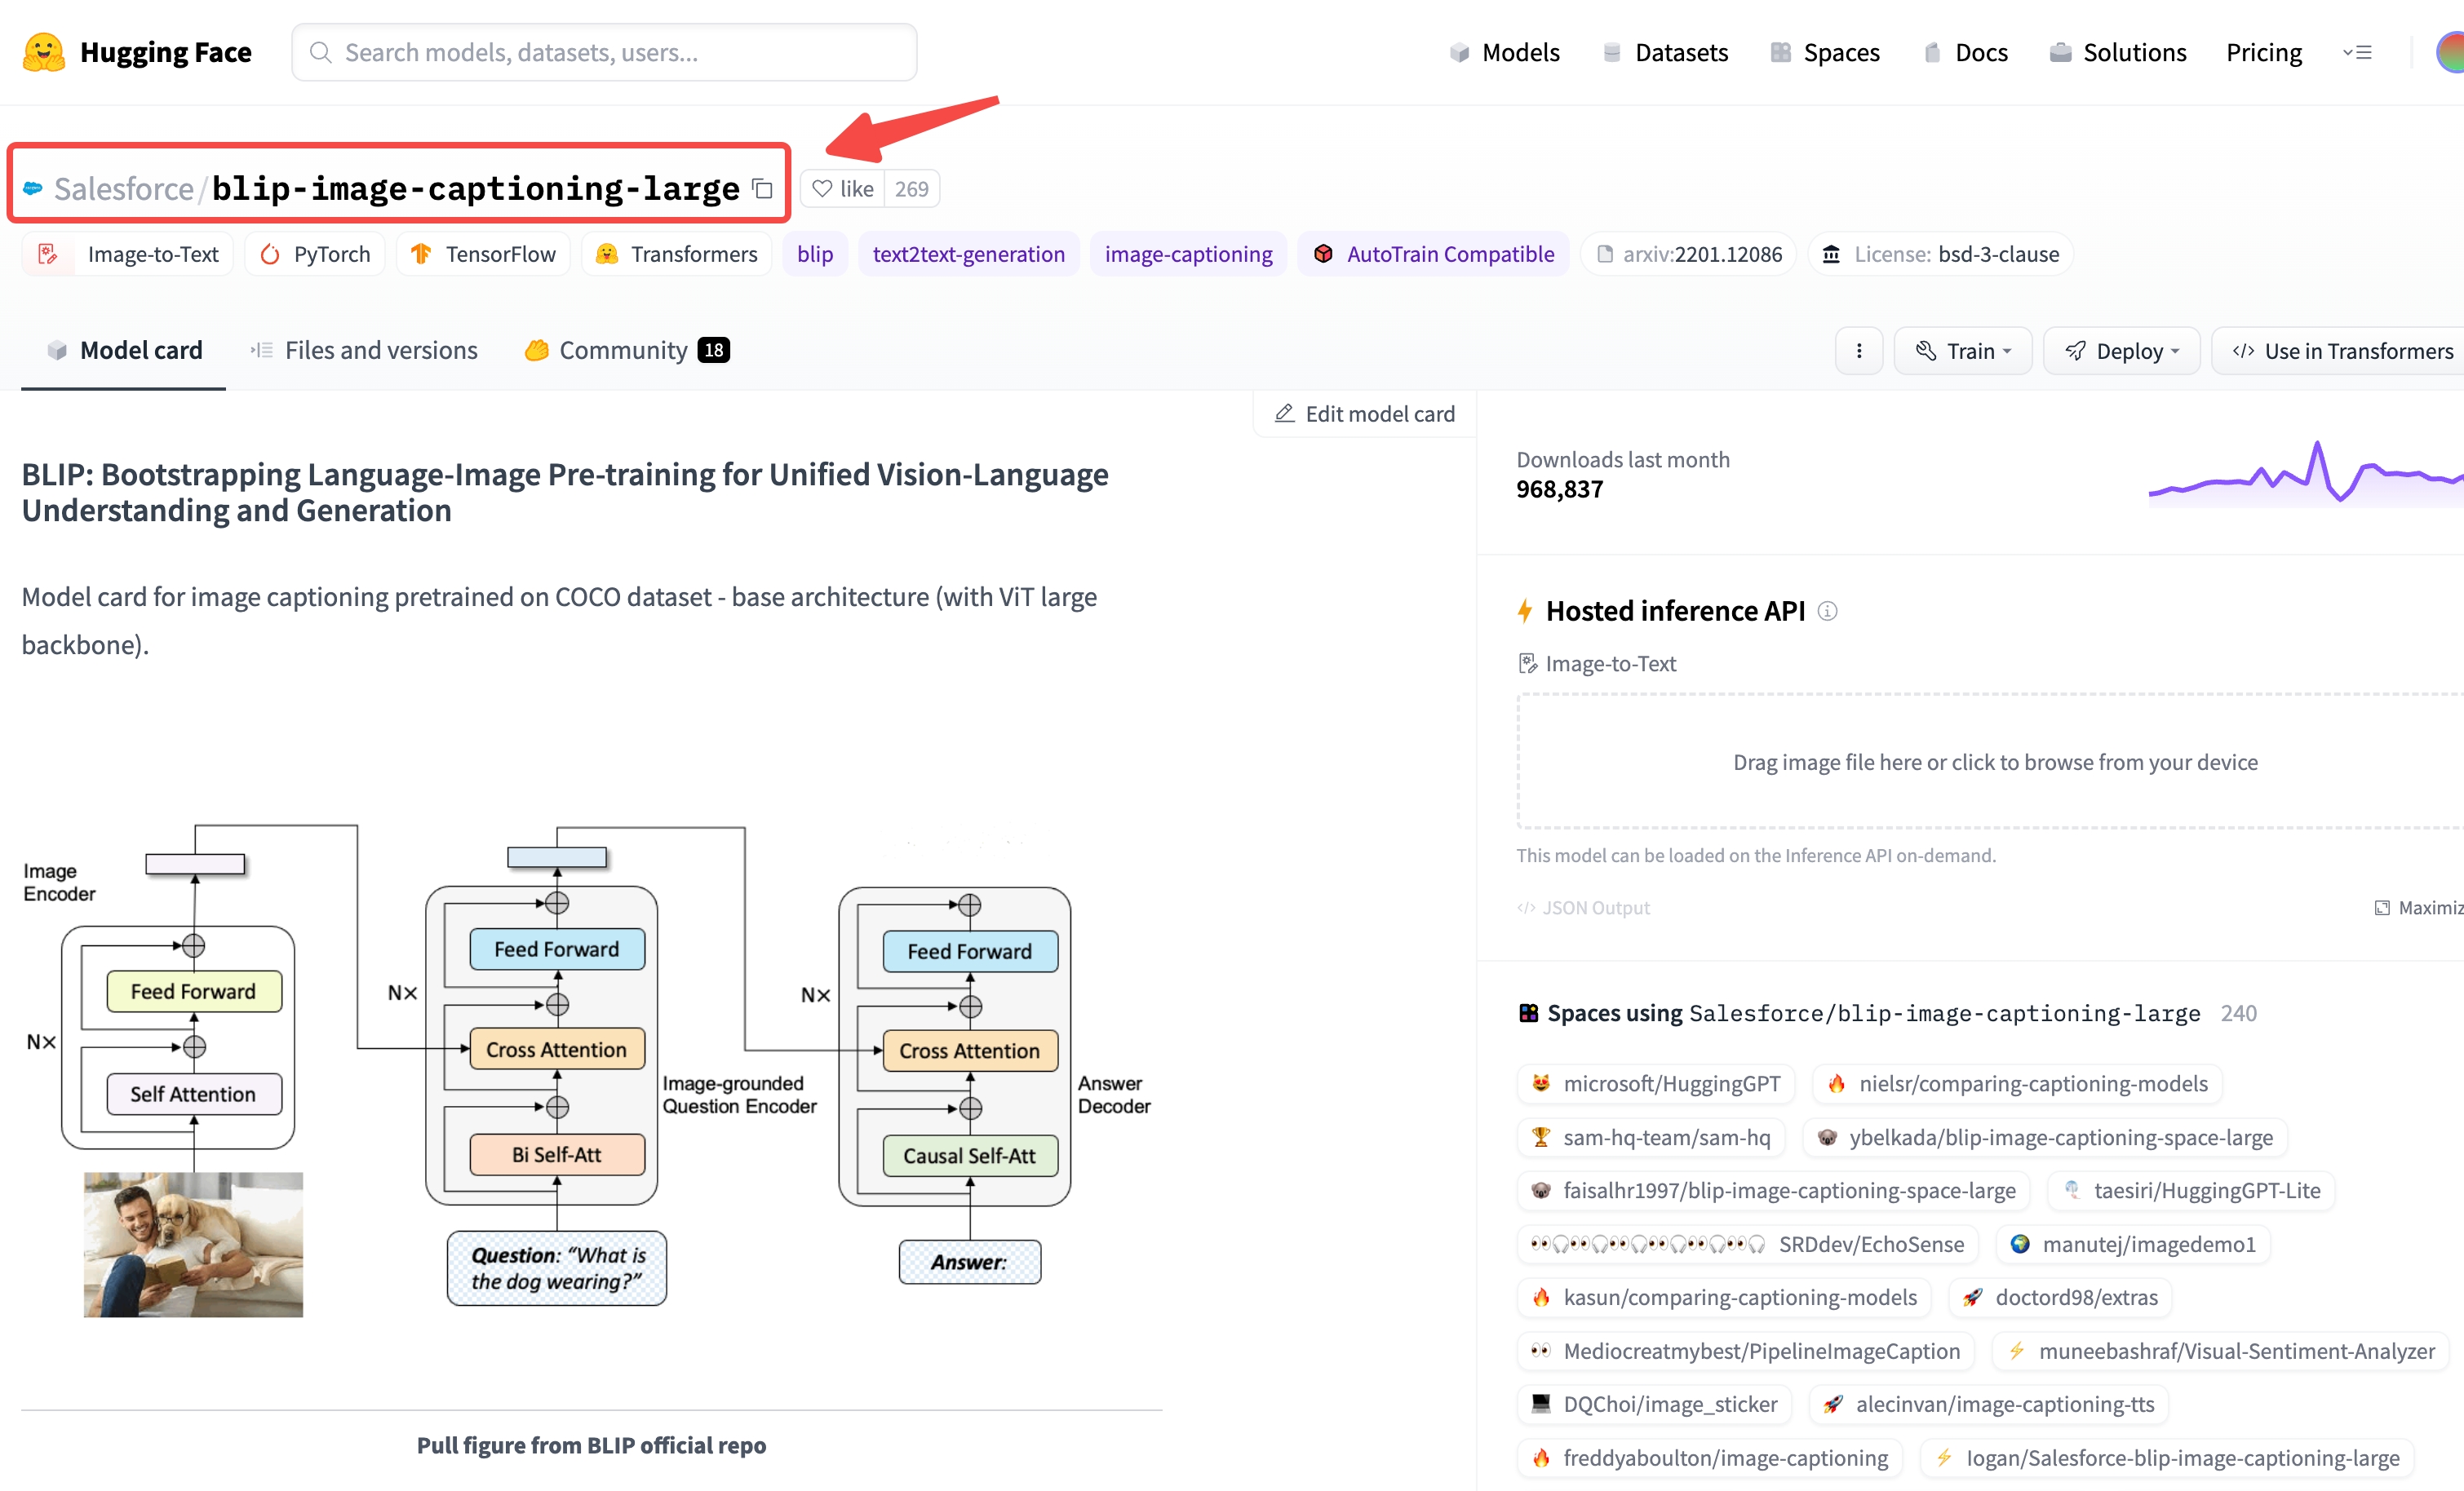
- 模型:Hugging Face 的图像识别模型,请参考链接
- 代码:(见附录)
2.2 下载模型和依赖库:
(推荐在 x86_64 Linux 主机环境运行)
2.2.1 下载模型
- 安装 huggingface_hub 模型下载工具:
pip3 install huggingface_hub
from huggingface_hub import snapshot_download
repo_id = 'nlpconnect/vit-gpt2-image-captioning'
local_dir = './model'
local_dir_use_symlinks = False
snapshot_download(repo_id=repo_id, local_dir=local_dir, local_dir_use_symlinks=local_dir_use_symlinks)
2.2.2 下载依赖库:
下载依赖库到 lib_ 目录 (需要使用 python 特定版本, 建议使用 docker)
将本地创建 lib_ 文件夹,mount 到 docker 的 /root/lib_ ,将依赖库下载到lib_ 中
docker run -it -v `pwd`/lib_:/root/lib_ quay.io/pypa/manylinux2014_x86_64:2022-10-25-fbea779 /bin/bash
在 Docker 环境中执行:
cd /root
/opt/python/cp37-cp37m/bin/python3.7 -m venv venv
source venv/bin/activate
mkdir lib_
pip3 install \
    -i http://mirrors.cloud.aliyuncs.com/pypi/simple/ \
    --trusted-host mirrors.cloud.aliyuncs.com \
    transformers torch pillow \
    -t "./lib_"
2.3 写代码:
在与 model,lib_ 同级目录创建代码文件,如 hgf_image2text.py ,代码参考附录
2.4 测试代码:
在Docker quay.io/pypa/manylinux2014_x86_64:2022-10-25-fbea779 中执行测试
docker run -it -v `pwd`:/app quay.io/pypa/manylinux2014_x86_64:2022-10-25-fbea779 /bin/bash
在 Docker 环境中执行:
cd /app
export PYTHONPATH=`pwd`:`pwd`/lib:`pwd`/lib_
python3 hgf_image2text.py https://huggingface.co/datasets/mishig/sample_images/resolve/main/savanna.jpg https://huggingface.co/datasets/mishig/sample_images/resolve/main/airport.jpg
测试成功后,打包镜像上传至阿里云 ACR 服务
2.5 打包并上传镜像:
2.5.1 准备镜像:
在与 model,lib_ , hgf_image2text.py 同级目录中创建 Dockerfile 文件,内容如下:
FROM quay.io/pypa/manylinux2014_x86_64:2022-10-25-fbea779
RUN mkdir -p /app
WORKDIR /app
COPY . /app
增加云器 Lakehouse 的启动程序(可联系云器支持同学获取),并解压到当前目录。至此,当前的目录应包含:
model,lib_ ,hgf_image2text.py , Dockerfile 文件夹和文件,以及从云器启动程序解压出的 bootstrap, lib, cz。
2.5.2 准备云上镜像仓库(需登录阿里云控制台):
- 进入容器镜像服务 -> 实例列表,进入个人实例
2. 个人实例界面,左侧仓库管理-> 命名空间 -> 点击 创建命名空间:输入空间名称,点击创建
3. 左侧仓库管理-> 镜像仓库 -> 点击 创建镜像仓库:选择命名空间、输入仓库名称,仓库类型选择“私有” -> 下一步,代码源选择本地仓库,点击创建镜像仓库
4. 在镜像仓库列表中,进入仓库详情页。在操作指南中有上传镜像的步骤,镜像版本号为自定义,如登录:
$ docker login --username=xxx@xxxx registry.cn-beijing.aliyuncs.com
2.5.3 上传镜像(本地执行):
打包镜像:
docker build -t registry.cn-beijing.aliyuncs.com/clickzetta/hgf_image2txt:hgf_i2t .
上传镜像:
docker push registry.cn-beijing.aliyuncs.com/clickzetta/hgf_image2txt:hgf_i2t
2.5.4 测试镜像(本地执行):
docker run registry.cn-beijing.aliyuncs.com/clickzetta/hgf_image2txt:hgf_i2t /app/boostrap
2.6 创建函数(需登录阿里云控制台):
- 进入函数计算 FC 2.0 -> 服务及函数,页面上方选择要使用的区域,右侧弹出页面输入服务名称,其它保持默认;点击最下方的显示高级选项,在服务角色中选择 AliyunFCDefaultRole,其它保持默认(公网和 VPC 访问策略可自行选择)
- 在服务列表中,进入刚创建的服务,点击创建函数
- 在创建函数界面,选择使用容器镜像创建,在基本设置中:输入函数名称,例如:hgf_image2txt,Web Server 模式:是,请求处理程序类型:处理HTTP请求
- 在镜像配置中,选择使用ACR中的镜像,选择 ACR 中的镜像,启动命令:
/src/bootstrap,监听端口:9000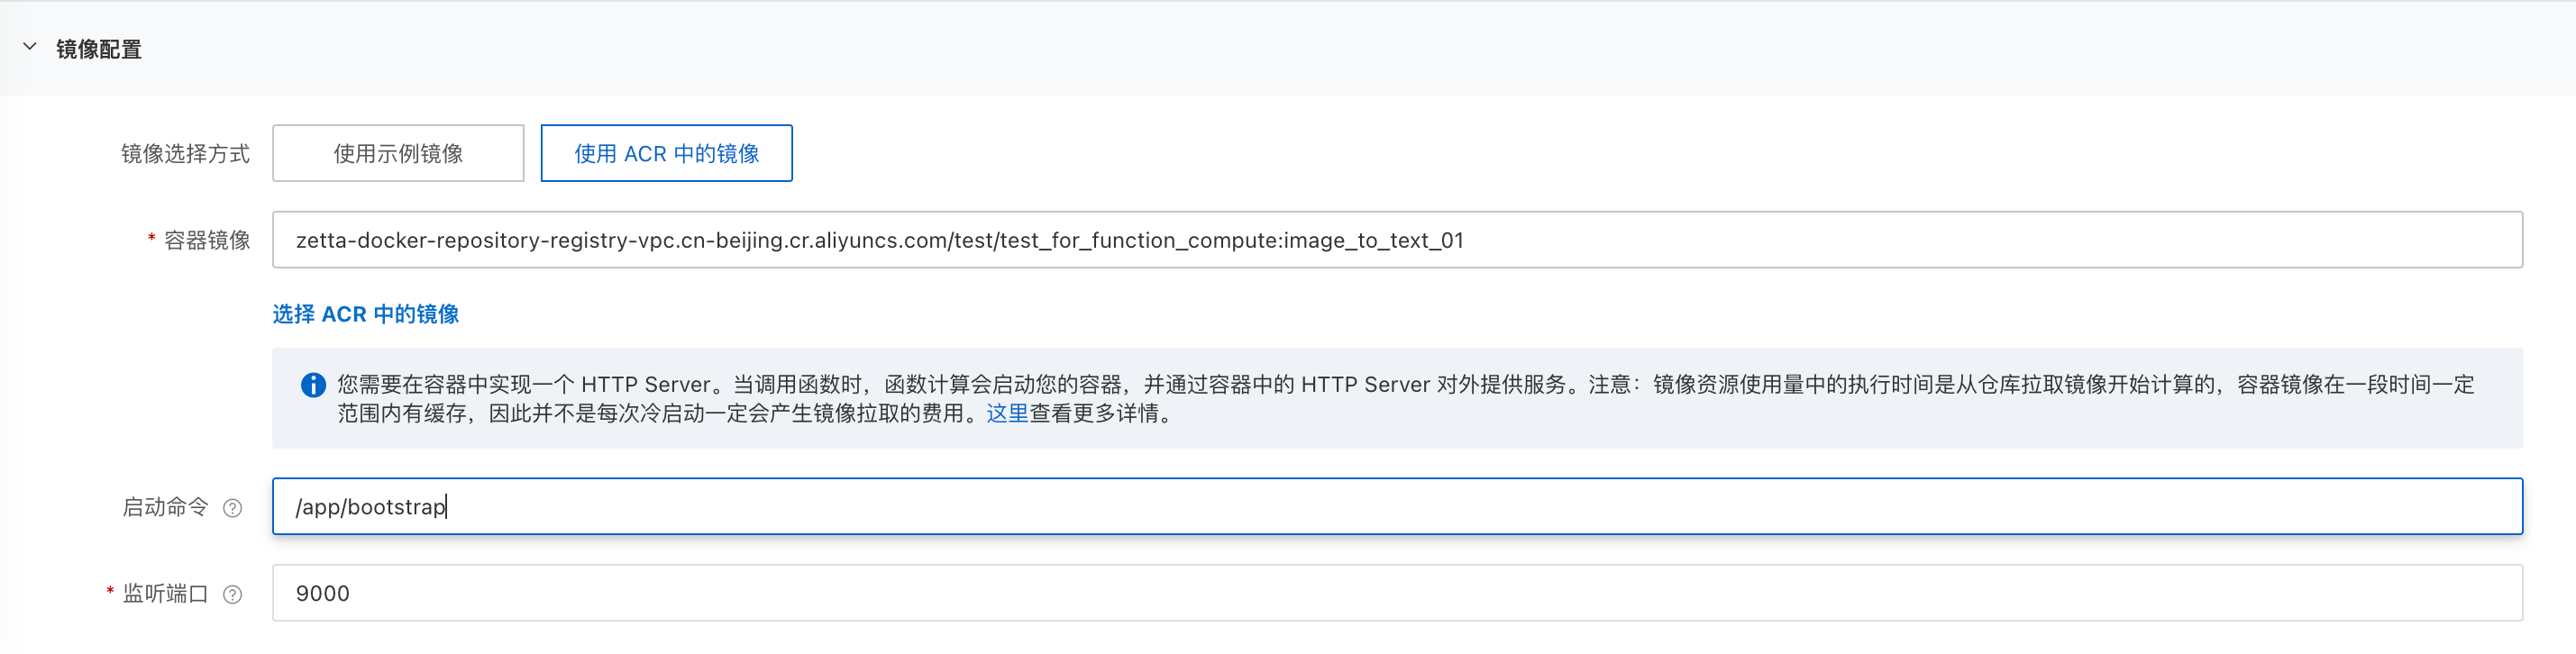
- 高级配置中,建议将 vCPU 和内存数量调整为 8核,16G
- 其它配置默认,点击创建
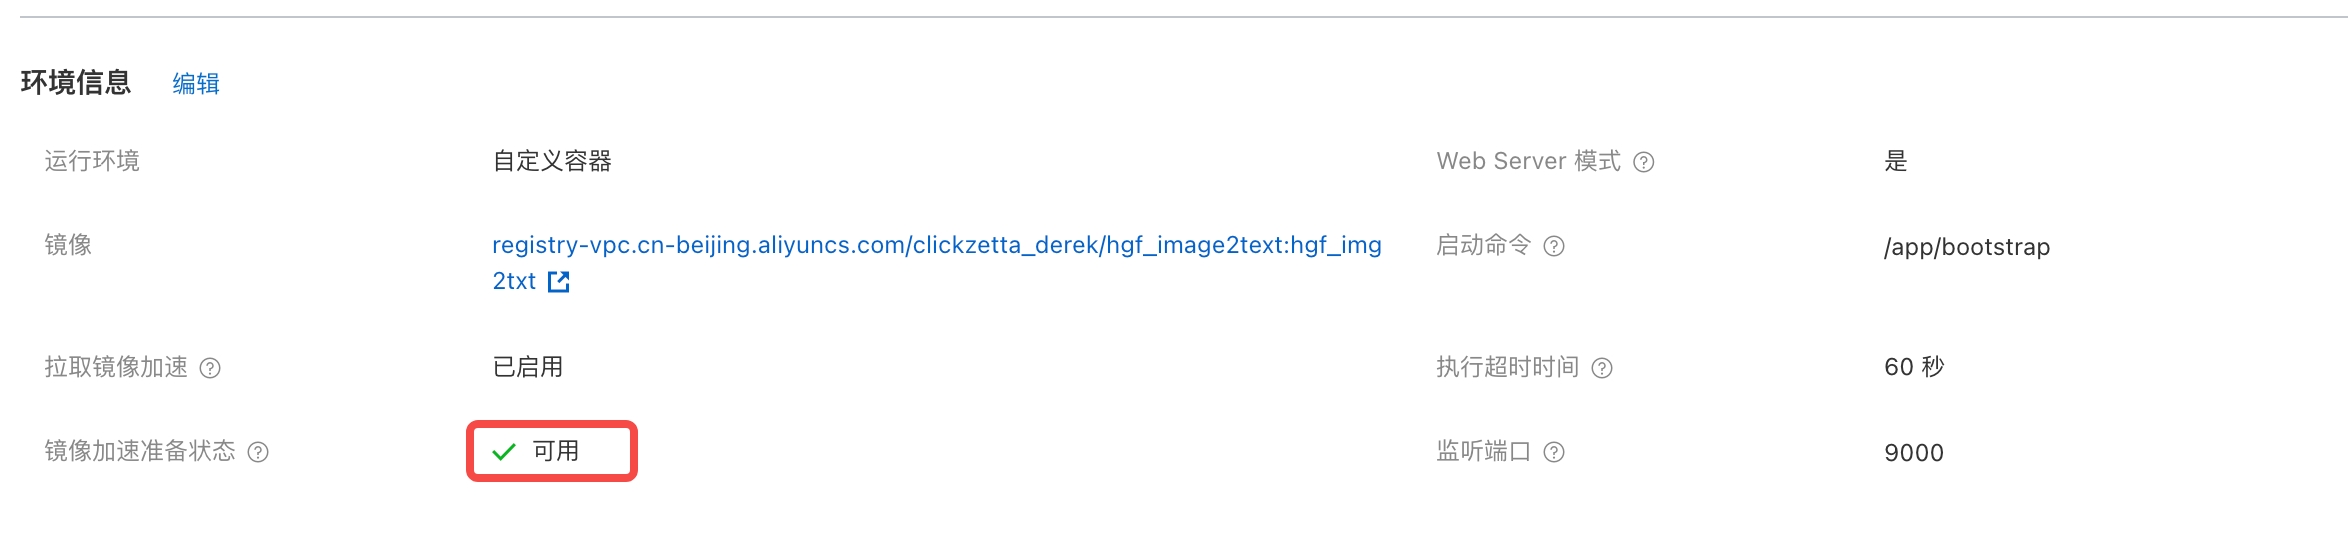
- 在函数列表中,进入已创建函数->函数配置,查看镜像加速准备状态, 等待至 "可用"
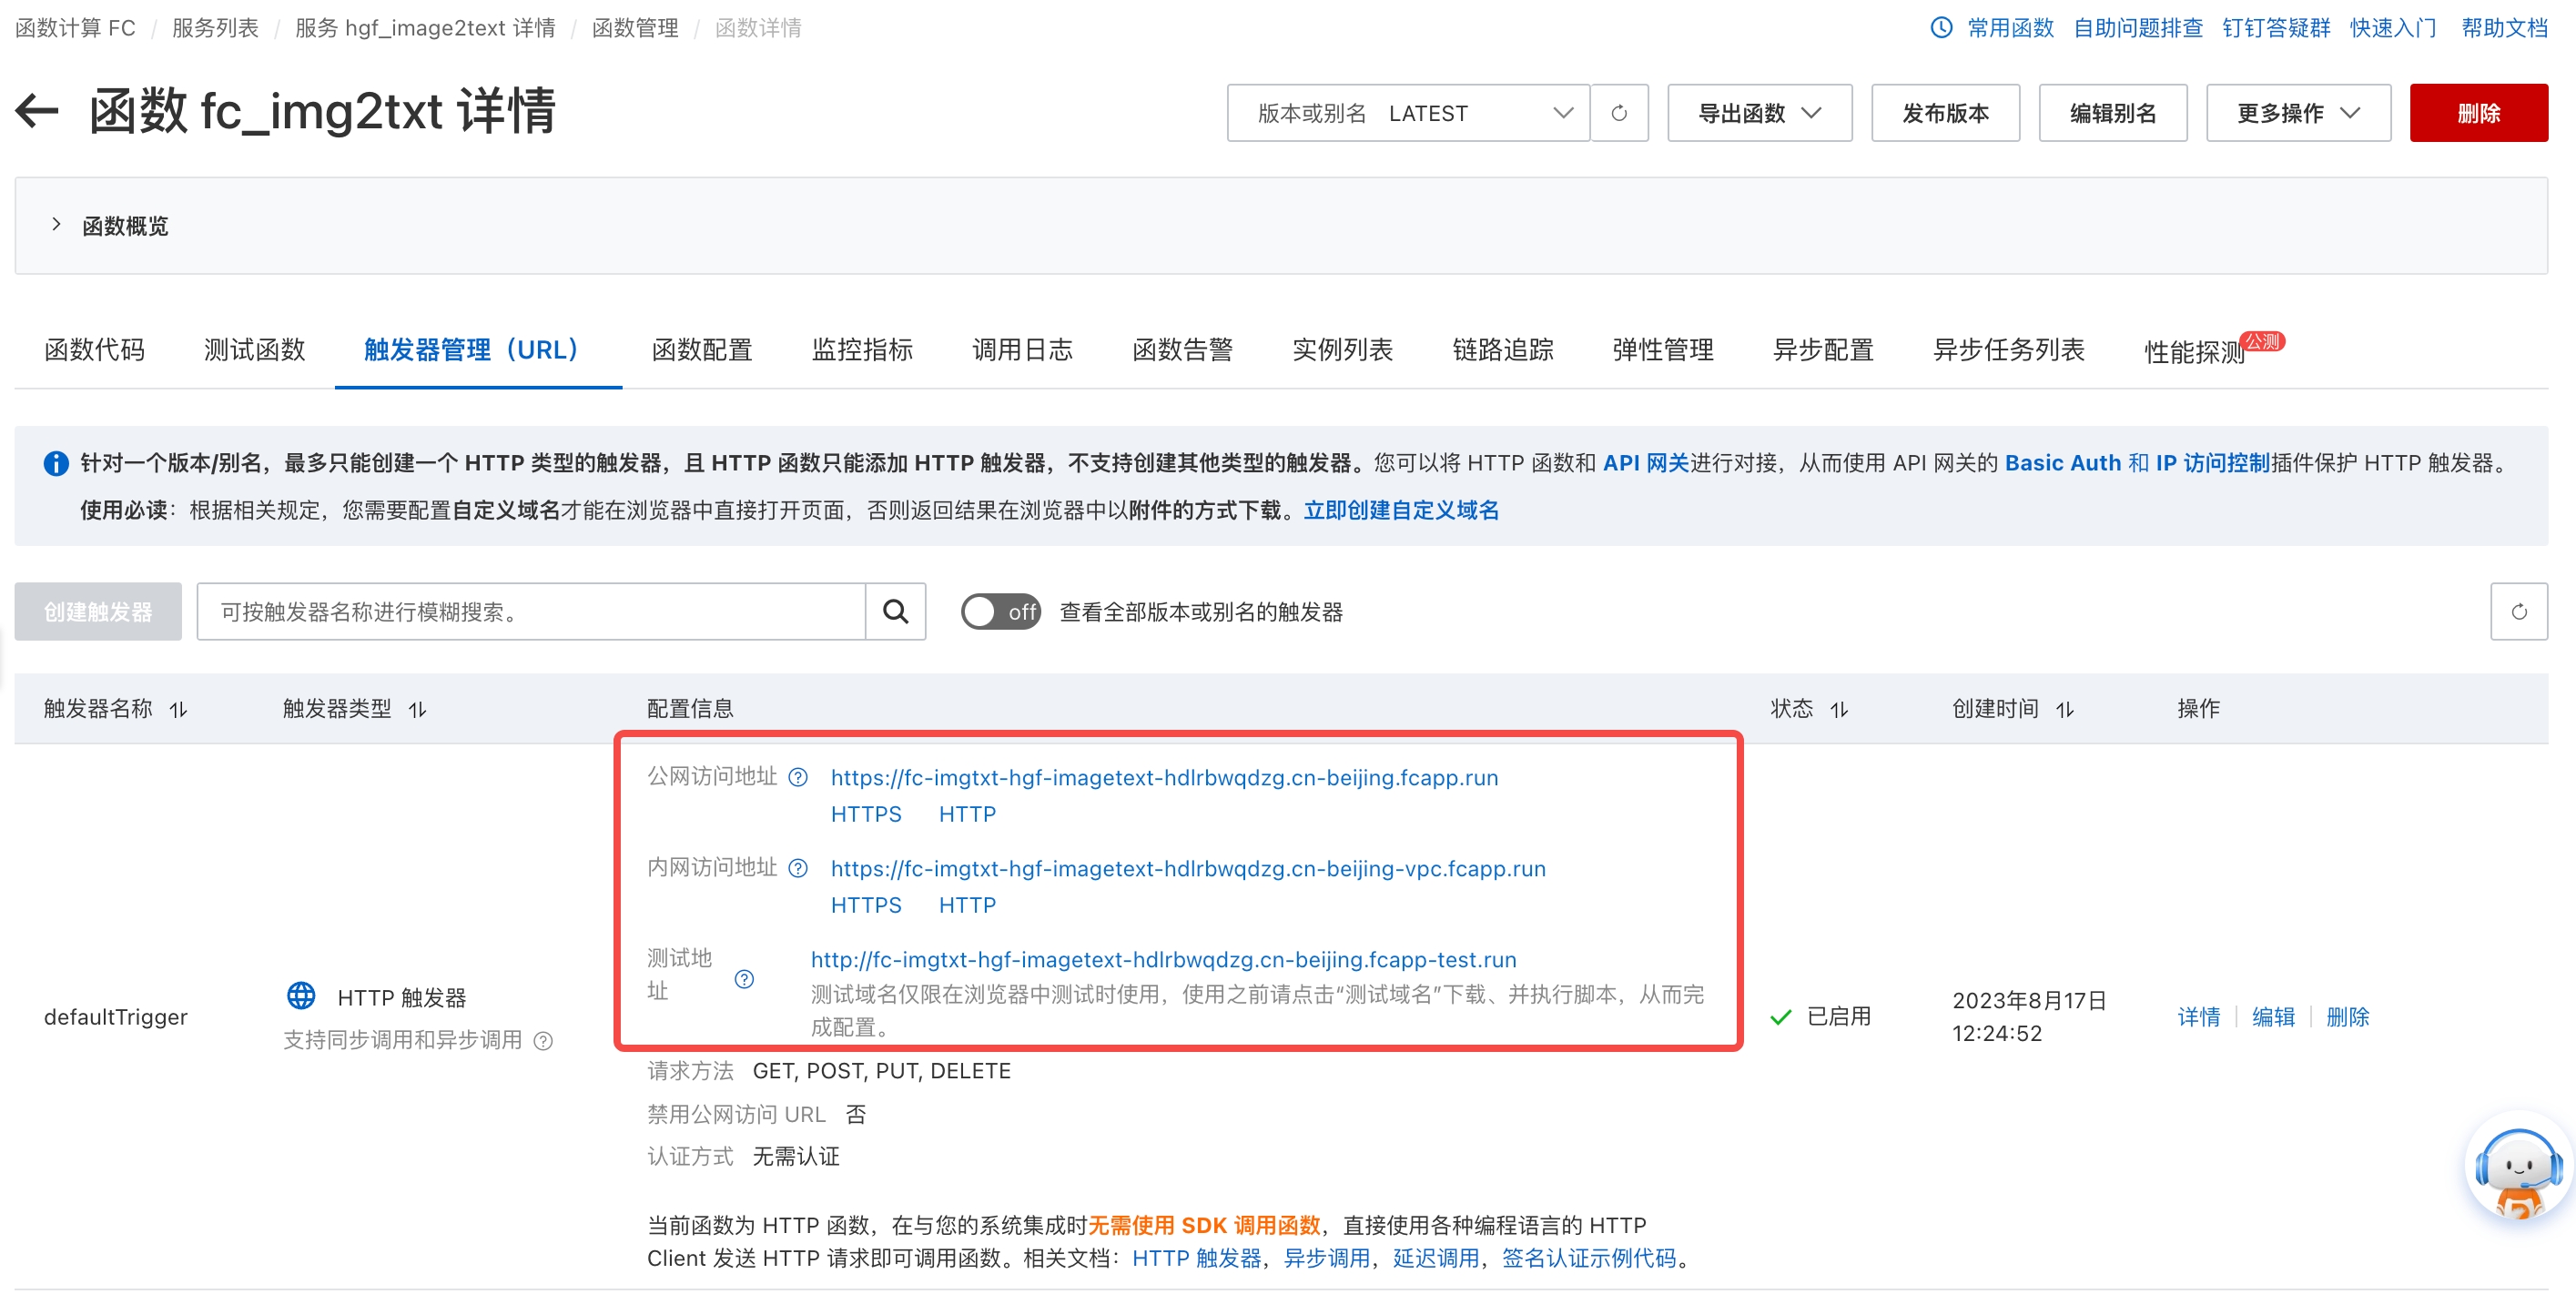
- 进入触发器管理,获得公网访问地址的 HTTP 链接
2.7 在云器Lakehouse 中创建 Remote Function(云器 Lakehouse 侧操作):
创建函数:
create external function derek_fc_demo.hgf_image2text
as 'hgf_image2text.image_to_text'
with properties (
 -- 这里替换创建函数时获取的内网访问地址 HTTP 链接
 'remote.udf.url' = 'http://fc-imgtxt-hgf-imagetext-hdlrbwqdzg.cn-beijing.fcapp.run',
 'remote.udf.protocol' = 'http.arrow.v0'
);
使用函数(图片 URL 只支持 https 协议):
set cz.sql.remote.udf.enabled = true;
select derek_fc_demo.hgf_image2text("https://huggingface.co/datasets/mishig/sample_images/resolve/main/savanna.jpg")
3. 附录
代码:
bash-3.2$ more hgf_image2text.py

import requests
from PIL import Image
from transformers import BlipProcessor, BlipForConditionalGeneration,pipeline
from cz.udf import annotate

def _remove(filepath):
    try:
        if os.path.exists(filepath):
            os.remove(filepath)
    except:
        pass

def _wget(url, filepath):
    r = requests.get(url)
    with open(filepath, 'wb') as fd:
        fd.write(r.content)

_PIPELINE = None

processor = BlipProcessor.from_pretrained("./model")
model = BlipForConditionalGeneration.from_pretrained("./model")

@annotate("string->string")
class image_to_text(object):
    def __init__(self) -> None:
        global _PIPELINE
        if _PIPELINE is None:
            _PIPELINE = pipeline('image-to-text', model='./model')

    def evaluate(self,url):
        if url is None:
            return None
        try:
            img_url = url;
            raw_image = Image.open(requests.get(img_url, stream=True).raw).convert('RGB')
            text = "Clickzetta:A photography of"
            inputs = processor(raw_image, text, return_tensors="pt")
            out = model.generate(**inputs)
            print(processor.decode(out[0], skip_special_tokens=True))

            # unconditional image captioning
            inputs = processor(raw_image, return_tensors="pt")

            out = model.generate(**inputs)
            result = processor.decode(out[0], skip_special_tokens=True)

            if len(str(result)) >= 1:
                return str(result)
            else:
                return ""
        except Exception as exc:
            return "[error] " + exc.__str__()
        finally:
            pass


if __name__ == "__main__":
    import sys
    to_text = image_to_text()
    for url in sys.argv[1:]:
        print(f"{to_text.evaluate(url)}")